Thinking about selling in Northwest Hills and wondering what actually moves buyers in 78731? You are not alone. In this pocket of Northwest Austin, buyers want functional layouts, inviting outdoor space, and polished photos that tell a clear story. This guide gives you a 60 to 120 day plan, room-by-room checklists, and photo-first tips tailored to homes in 78731 so you can list with confidence. Let’s dive in.
Why staging matters in 78731
Northwest Hills draws households who want suburban comfort inside Austin city limits. That means buyers look closely at daily function, storage, and outdoor living. When you stage with those needs in mind, you pull more clicks online and create stronger in-person impressions.
- Family-focused buyers want flexible bedrooms, organized entries, and usable yards.
- Dual-income professionals look for tidy, low-maintenance spaces and a credible home office.
- Upsizers and relocators expect move-in ready touches, modern lighting, and updated feel.
Keep your color palette neutral and fresh. Emphasize indoor-outdoor flow, storage, and light. In Central Texas heat, shade and landscaping read as comfort and care.
Your 60 to 120 day staging roadmap
Days 0–7: Plan and scope
- Walk your home like a buyer. List repairs, cleaning, and quick wins.
- Check for HOA or deed rules before changing exteriors or adding outdoor furniture.
- Prioritize high-impact items: curb appeal, decluttering, deep clean, and paint.
- Book a photographer for 2 to 3 weeks after staging wraps. Build a shot list.
Days 7–21: Declutter and deep clean
- Remove personal items, excess furniture, and visual clutter from surfaces.
- Clean carpets and floors, replace HVAC filters, and wash windows.
- Handle small fixes like squeaky hinges, missing outlet covers, and scuffed baseboards.
- Start basic yard cleanup, trim shrubs, and pressure wash paths.
Days 21–45: Cosmetic updates
- Paint walls and trim in light, neutral tones.
- Update cabinet hardware, faucets, and light fixtures where dated.
- Refresh caulk and grout. Replace worn switch plates and door hardware.
- Finish landscaping refresh and address gutters or drainage if needed.
Days 45–60: Style for function
- Place furniture to define zones and create clear walkways.
- Add neutral textiles, layered lighting, and simple greenery.
- Stage storage: tidy closets, labeled baskets, and clean shelving.
- Conduct a mock photo day and remove anything still distracting.
Photo day and go-live
- Schedule final cleaning the day before photos.
- Complete pre-shoot checklist, then capture stills, one twilight exterior, and any add-on media.
- Keep staging in place for showings through your first weeks on market.
High-impact priorities
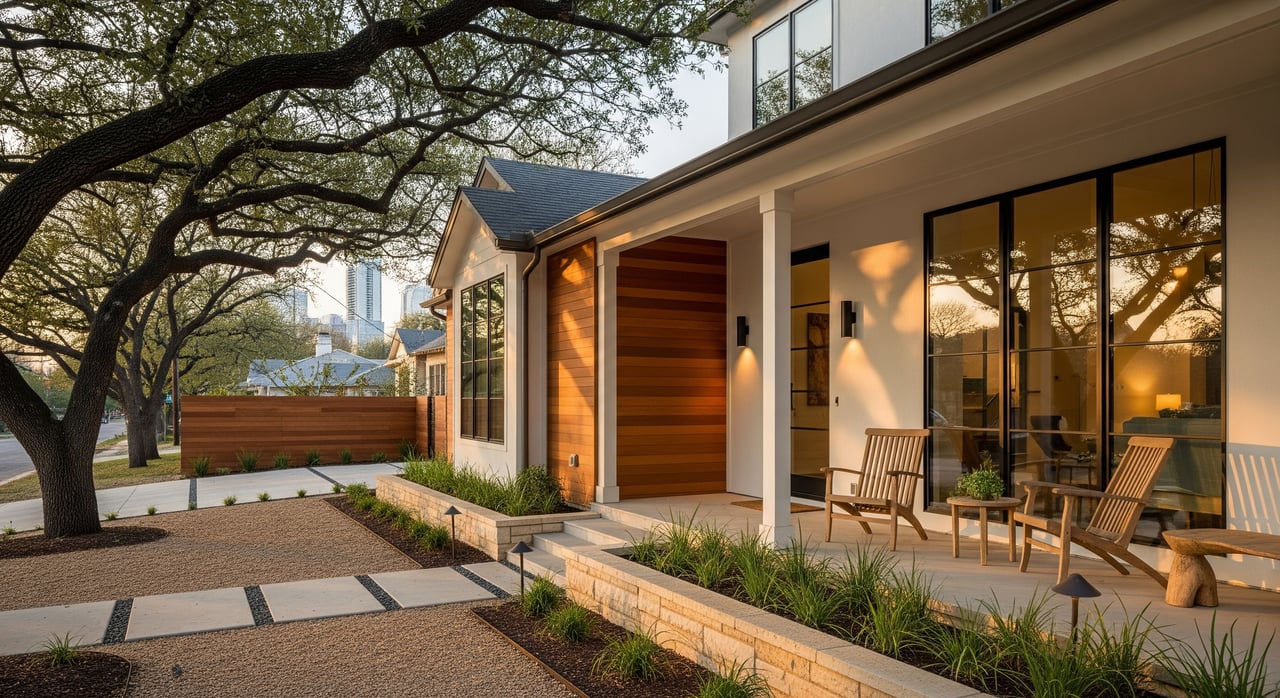
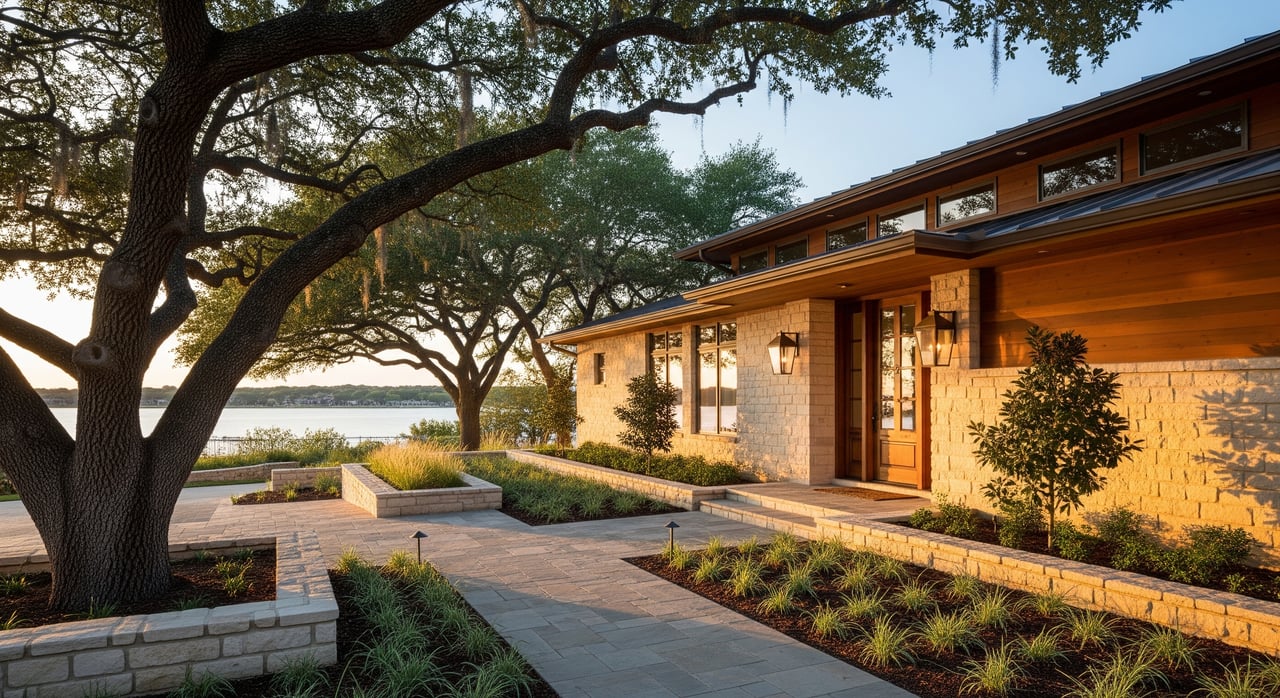
- Curb appeal and entry. Power wash, mulch, trim, and paint the front door if needed. Make the path to the door obvious and welcoming.
- Declutter and depersonalize. Clear surfaces and closets. Fewer items make rooms feel larger.
- Deep clean and maintenance. Fix the small stuff buyers notice. Clean from baseboards to windows.
- Cosmetic updates. Neutral paint, warm bulbs, modern lighting, and updated hardware.
- Space planning. Remove excess furniture. Use rugs to define conversation and play zones.
- Professional photography. Plan light, angles, and a first-photo story that hooks buyers.
- Optional visible upgrades. Consider kitchen hardware, a faucet swap, or a bathroom mirror refresh.
Room-by-room staging guide
Entry and curb appeal
- Clear the porch and add a simple doormat. Use a small bench or a slim console if space allows.
- Place a mirror inside the foyer to open the space and reflect light.
- Create a discreet drop zone with a tray or basket to show daily function.
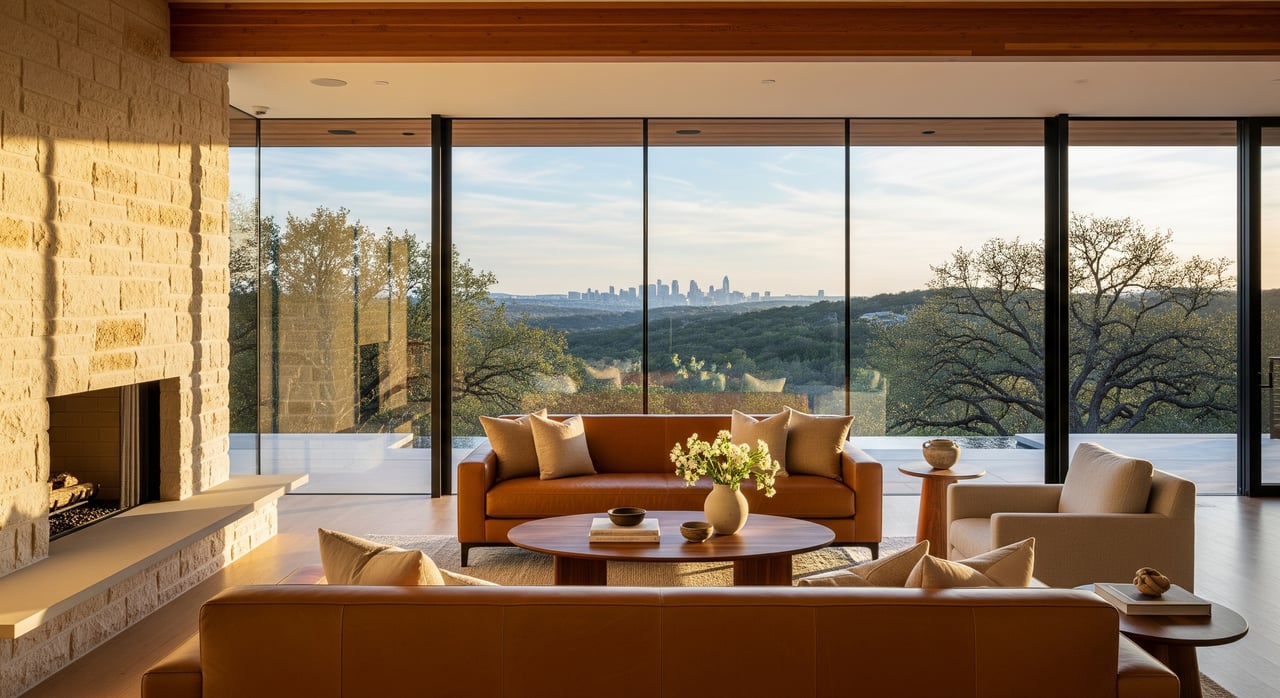
Living and family rooms
- Arrange seating for conversation and sight lines to the yard or patio.
- Remove extra chairs or bulky pieces to showcase scale and flow.
- Add lamps to warm the room. Use one neutral rug to define the main zone.
Kitchen
- Clear counters. Store small appliances and remove fridge magnets.
- Add simple vignettes like a bowl of fruit or a small plant.
- Update cabinet hardware or a faucet if dated. Clean grout and freshen caulk.
- If finishes are older, lean on spotless surfaces and functional styling.
Dining room
- Set a modest table with neutral place settings for four to six.
- Leave enough space around the table to show easy movement.
- If near a patio, highlight indoor-outdoor dining with a simple table runner.
Primary suite
- Use neutral bedding and two pillows. Keep nightstands clear with one lamp and a book.
- Tidy closets to showcase storage. Use matching hangers for a clean look.
- Remove heavy drapes if they block light. Keep decor calm and minimal.
Kids and guest rooms
- Stage a single bed and one side table. Add a few books or a basket for toys.
- If a buyer may convert the room, show a simple office layout in one secondary bedroom.
- Keep walls light and decor simple. Avoid themes that might distract.
Home office
Show a credible workspace with a desk, chair, clean laptop, and one plant.
Organize shelves and hide cords. Natural light helps the space feel inviting.
If you have multiple small rooms, stage one as a dedicated office.
Bathrooms
- Re-caulk and regrout. Replace dated lighting or mirrors if budget allows.
- Use white or light towels and a small plant. Keep counters clear.
- If you have a curtain, make sure it is neutral and spotless.
Laundry, mudroom, and garage
- Show function. Use labeled bins and hooks in mud or laundry areas.
- Clear floors and walls in the garage. Store seasonal items neatly.
- Remove personal photos and sensitive items.
Outdoor spaces
- Stage simple seating on the patio. Clean the grill and arrange an outdoor dining setup.
- Add shade where possible with an umbrella or awning to suggest comfort.
- Keep the lawn trimmed and plant drought-tolerant options for a tidy look.
- If you have a pool, ensure the water is clear and equipment is working on photo day.
Photo-first merchandising
Lead with standout shots
Show a narrative in the first 3 to 6 photos. Start with curb appeal, then a bright main living area, a clean kitchen, the primary suite, and a strong outdoor scene. Keep each photo focused and uncluttered.
Pre-shoot checklist
- Power wash the walk and porch. Mow and edge.
- Open blinds and curtains. Turn on all interior lights with warm bulbs.
- Remove cars from the driveway. Hide trash bins and pet crates.
- Pull furniture slightly off walls to add depth and show walkways.
Media to consider
- High-quality stills as your baseline, plus one twilight exterior.
- Drone photos for lot and roof context if your yard or setting is a strength.
- 3D tours for higher-value listings or complex floor plans.
- Short videos or reels to support social marketing.
Virtual staging guidelines
- Use virtual staging for vacant rooms when needed, and choose realistic styles.
- Always disclose virtual staging according to MLS rules.
- Limit digital edits to lighting and color balance. Do not alter property features.
Timing and lighting tips
- Book photography after painting, cleaning, and staging are complete.
- Capture rooms in their best natural light. East-facing spaces often shine in the morning and west-facing later in the day.
- In summer, schedule exterior photos early or late to avoid harsh light.
Budget tiers that make sense
Low effort, quick refresh
- DIY declutter and deep clean. Touch up paint and closets.
- Basic yard work and pressure wash paths.
- Rearrange existing furniture to open sight lines.
- Best if your systems are solid and time is short.
Mid effort, broader appeal
- Whole-home neutral paint and warm lighting.
- New cabinet hardware and a few fixture swaps.
- Professional staging for key rooms like the living area and primary suite.
- Landscaping refresh that reads healthy and low maintenance.
High effort, premium polish
- Full-home staging and rental furnishings as needed.
- Minor kitchen or bath refreshes like a new vanity or partial counter update.
- Hardscaping or larger landscape improvements.
- Premium media package with drone and 3D tour.
Small cosmetic updates tend to deliver strong perceived value. Professional photography paired with thoughtful staging increases online views, which can drive more showings.
Local details to get right
- HOA and permits. Confirm neighborhood rules before changing exteriors or adding signs and furniture outdoors. Pull city permits for any plumbing or electrical work.
- Central Texas climate. Emphasize shade, irrigation, and tidy drought-tolerant plants. Plan exterior work for cooler hours.
- Vendor fit. Choose stagers and photographers who know Austin home styles and outdoor living shots. Ask for Travis County examples.
- Risk and disclosures. Keep receipts and records for all work. Do not conceal defects. If you use virtual staging, disclose it.
Ready to list with confidence?
You do not need a full remodel to make a strong first impression in Northwest Hills. A smart plan, clean presentation, and photo-first staging tailored to 78731 can help you stand out. If you want a local game plan, preferred vendor referrals, and marketing that showcases your home the right way, reach out to Michael Mechler. Let’s make your listing shine.
FAQs
What staging moves matter most for 78731 sellers?
- Focus on curb appeal, neutral paint, updated lighting, clear storage, and a living room layout that shows flow to outdoor space.
How far in advance should I start staging in Northwest Hills?
- Give yourself 60 to 120 days when possible so you can declutter, complete light updates, and finish staging before photography.
Do I need full-home staging to sell in this area?
- Not always; many sellers stage key rooms like the living area, kitchen, primary suite, and one secondary room while simplifying the rest.
How do I stage for families without adding clutter?
- Define a few zones like a play corner and a homework nook, then keep surfaces clear and use labeled baskets to show tidy storage.
Is virtual staging a good idea for vacant homes in 78731?
- Yes if done realistically and disclosed; it helps buyers understand scale and layout while keeping costs below full furniture rental.